Pet Photo Tips

PHOTOGRAPHY FOR PORTRAITS TIPS:

Note: These aren’t technical tips.

If the photo isn’t perfect, I can fix certain flaws, but generally the better the photo, the better the portrait outcome will be. If you are taking photos for the portrait, digital cameras are great because you can take as many as you need to get the right shot, but keep the sessions themselves fairly short. Make sure your pet is relaxed and happy, so it doesn’t appear fearful or anxious. If it is a head shot, try to include the neck and shoulders. For the whole body, a side or partial side view usually looks better than a frontal view, unless they are sitting. Try to not crop off any part of the pet, such as an ear.

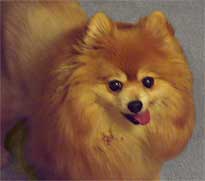
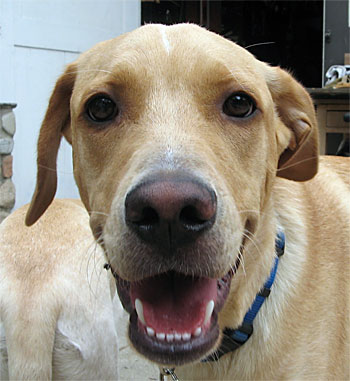
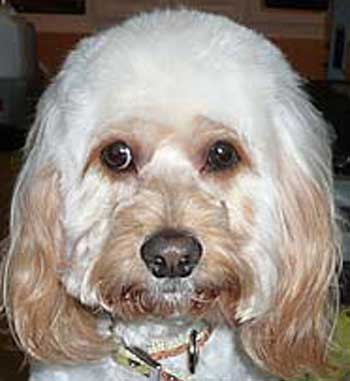
What Makes a Good (or not so good) Photo for a Portrait?
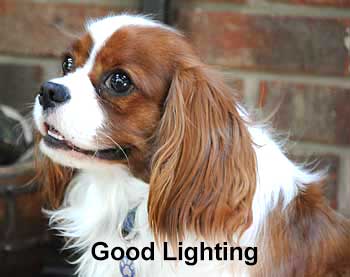
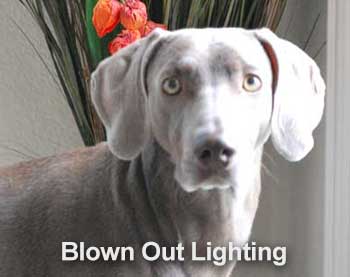
Besides showing your pet’s personality, it should be a flattering angle, have decent lighting, and show enough detail. Your pet should appear alert, with the eyes showing. If it is too light, (blown-out,) or too dark, it looks flat because there is no form or detail to work from.

In the first example, the lens was too close, creating a convex distortion. It makes his nose look bigger than it really is. If shot from further away, it wouldn’t be distorted. Sometimes a zoom setting works well.

Shoot at Their Eye Level, Not Yours:

People often shoot their pets from above, as that’s how we see them, but for a portrait, which is usually displayed on a wall, sometimes this causes the pet to seem as it’s staring at the ceiling. (See Example) It also can create awkward juxtapositions, such as the body appearing to sprout out of the head. You can crouch, sit or lie down to photograph them, or place them on an elevated surface, such as a chair, stairs, etc. A table or counter can be useful, as it prevents moving around too much, as long as it’s done safely.

Good – Eye Level Shot

Not Great
Looking Up at Viewer

Not Great
Body above Head

Avoid Distortion:

Not Good – Distorted

Good – No Distortion

In the first example, the lens was too close, creating a convex distortion. It makes his nose look bigger than it really is. If shot from further away, it wouldn’t be distorted. Sometimes a zoom setting works well.

Use props to focus attention:
If you have someone help you, it can make it easier to get that perfect shot. This can be easiest with the pet on an elevated surface. Have your helper behind you with treats or toys to get their attention. They can be off to the side, or right behind, if you want a direct shot. Try all different angles. If you can’t get assistance, hold the toy or treat in one hand, and shoot with the other.

If Shooting Whole Body:
Try to get the entire body, including paws, tail, and ears, if that’s what you want in the portrait. The composition can be cropped later, but it’s hard to have to add a paw, etc., if it’s not there in the photo.

Use Natural Lighting:
Natural light is best, unless you have professional lights. A sunny or slightly cloudy day is good for an outside shoot, in the early morning, or later afternoon. Direct, mid-afternoon sunlight can be too bright, casting harsh shadows, but can be done. If photographing your pet outside isn’t possible, place your pet near a window with the light coming from the side, not from behind.

Very Light or Dark Pets:
These can be difficult to shoot because the tones get lost. For dark ones, using the flash can bring out shine in their coats. Use non-flash for eye detail. For light pets, avoid too much light or flash, and have them against a darker background.

Navigate The Site

Subscribe to our Newsletter

* indicates required